
Fixing Worn-Out Mesh is a video where I cover the mesh, not replace it. In the last video in the Legacy Pack Project, I removed the worn mesh from the front pocket of an old hydration pack to see how it was constructed. That experiment taught me something important: ripping out old mesh isn’t a good repair strategy. It can damage the surrounding fabric and create more problems than it solves. In this video, I work out a more practical solution: covering the worn mesh with new mesh and stitching it in place.
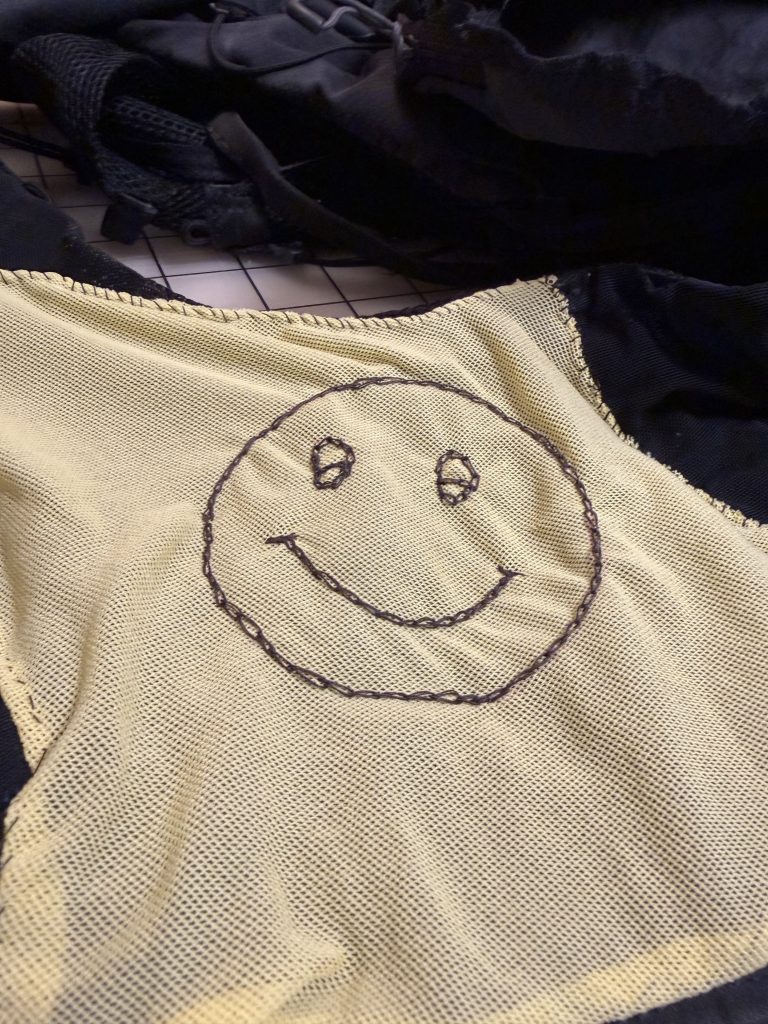
This demonstration is being done on the pack I destroyed in “The Old Pack Is Dead | The Legacy Pack Project Begins”, so instead of trying to make the repair invisible, I used contrasting colors and thread and added a dorky design when securing the mesh in place. I also chose yellow mesh because it makes the construction easier to see on camera. This is part of the Legacy Pack Project, where I’m learning as much as I can about hydration pack construction and how to best repair and rebuild packs in the future. Please subscribe to join me as I learn the most I can from this pack.
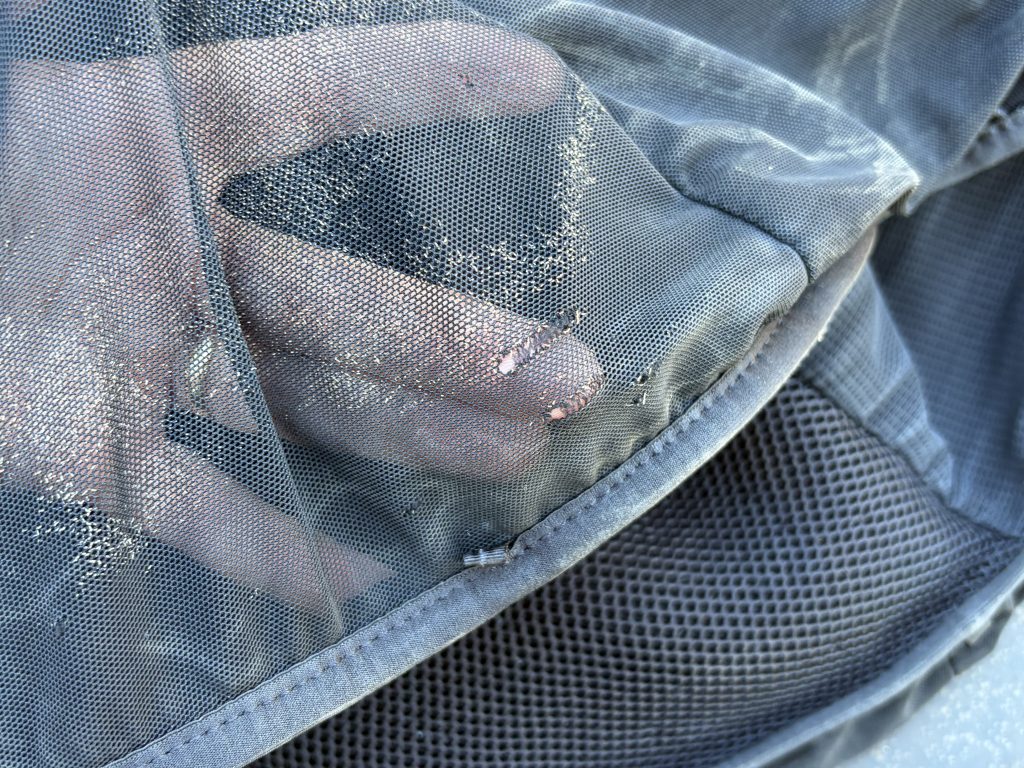
Sometimes, you just need to get your pack through another race, or another season. Fixing Worn-Out Mesh demonstrates one way to fix a pack and keep it alive for a little longer.
I’m demonstrating this repair in contrasting colors and with dorky designs so it’s visible for the camera. It’s being added to the “Dead Pack” for demonstration purposes only.
Please Subscribe to my YouTube channel
Subscribing notifies you of upcoming videos, but it also helps me build my business and helps me become more discoverable. Channel Name: Achievement Repair and Gear or @AchievementLinda on YouTube.
Return to Video Tutorials
Return to Home Page